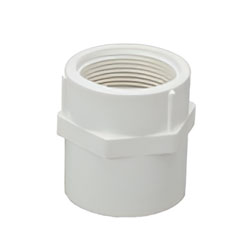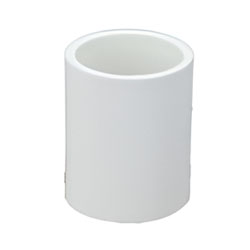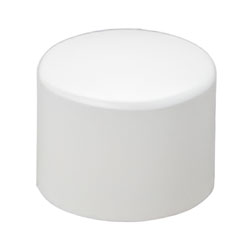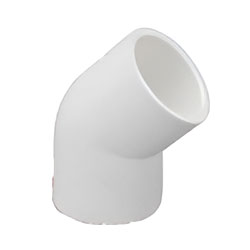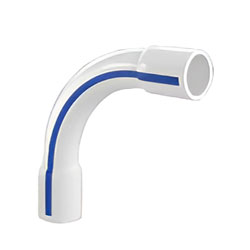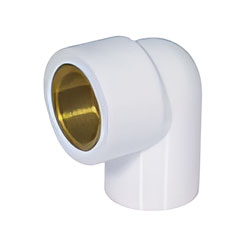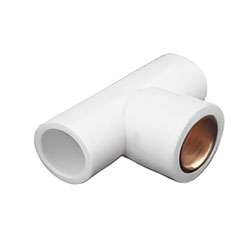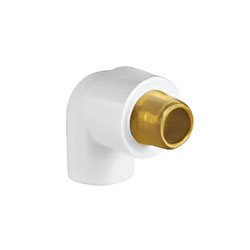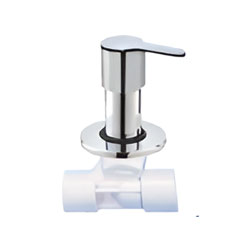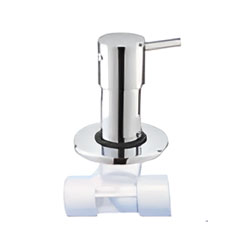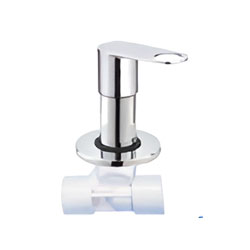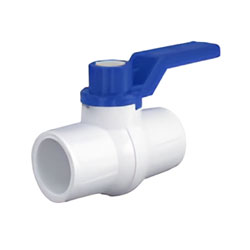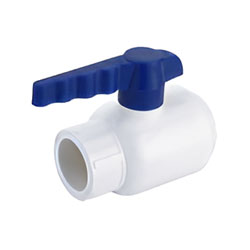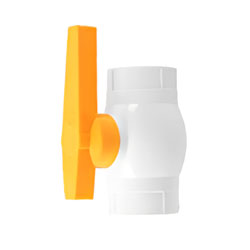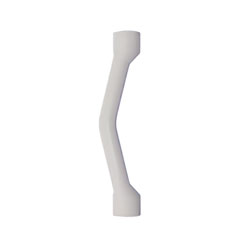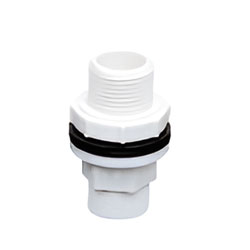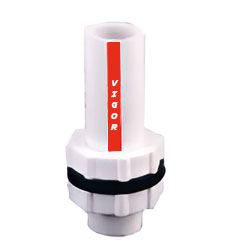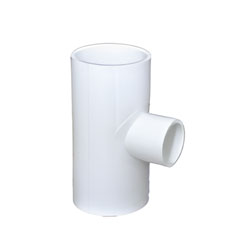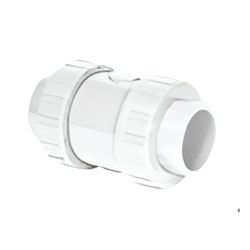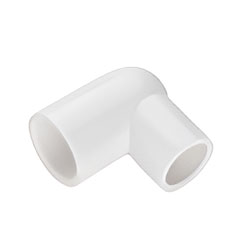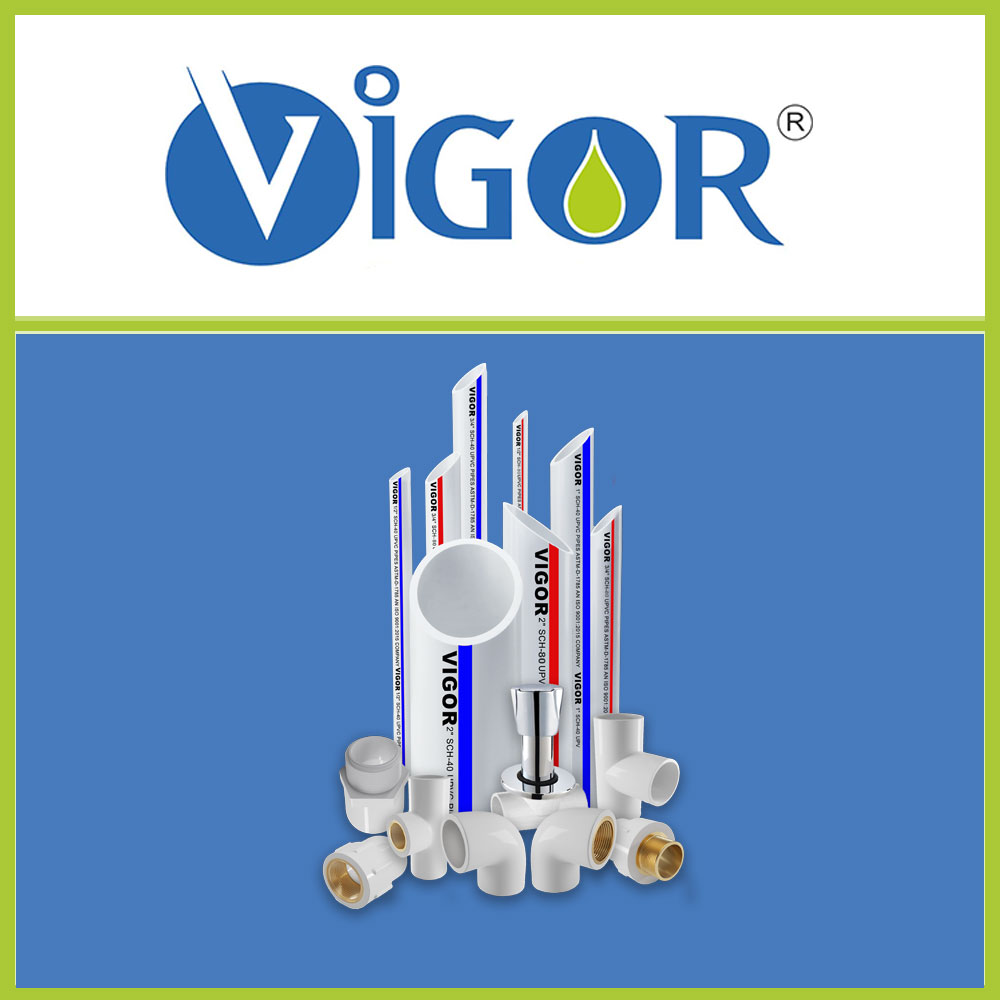
UPVC Plumbing Pipes and Fittings
- Non Corrosive
- Resistance To chemical
- Thogh & Reliable
- Easy Cold Welding Process
- Prevent Bacterial Growth
- Low Thermal Expansion
- life of More than 50 Years
- For Cold water
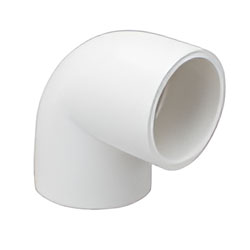
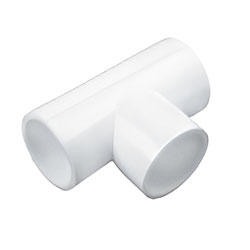
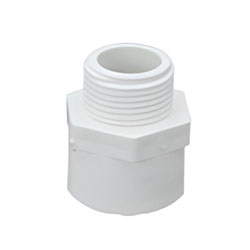
uPVC Pipe in ASTM D-1785 SCH-40 & SCH 80 Fitting: SCH 40 ASTM D-2466, SCH 80 ASTM D-2467
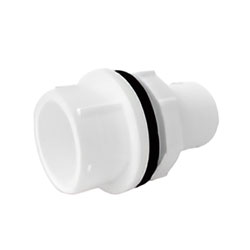
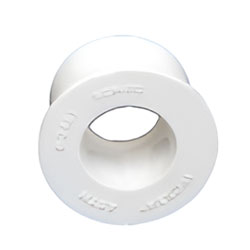
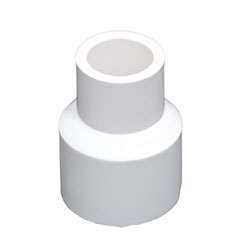
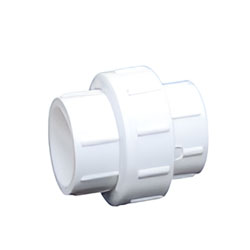
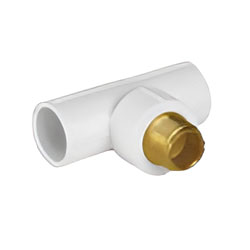
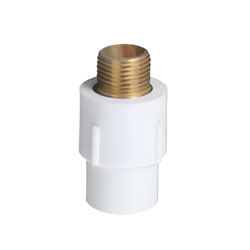
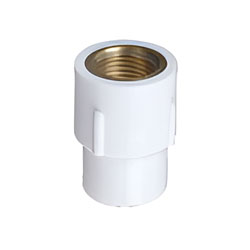
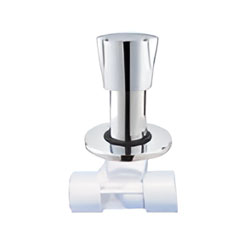
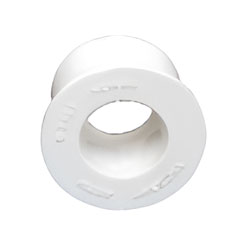
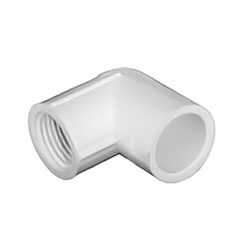
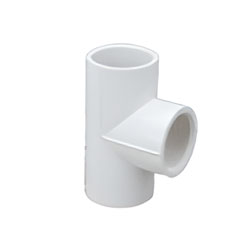
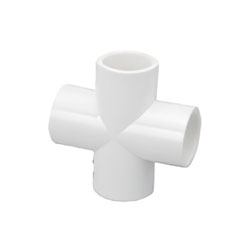
Fittings
Standard & Specification
PROPERTIES OF uPVC PIPES:
Vigor uPVC pipes, like other uPVC pipes, possess several beneficial properties that make them suitable for various applications. While specific details about "Vigor" uPVC pipes might vary depending on the manufacturer, here are some general properties associated with uPVC pipes:
Corrosion Resistance:
Vigor uPVC pipes exhibit high resistance to corrosion from chemicals, acids, and alkalis, ensuring longevity and reliability in various environments.
Chemical Resistance:
They resist a wide range of chemicals, making them suitable for applications where exposure to corrosive substances is common, such as industrial piping systems.
Smooth Internal Surface:
Vigor uPVC pipes typically feature a smooth internal surface, which promotes efficient fluid flow with minimal friction loss, ensuring high performance and energy efficiency.
Lightweight:
Similar to other uPVC pipes, Vigor uPVC pipes are lightweight, facilitating easier handling, transportation, and installation compared to heavier materials like metal pipes.
Impact Resistance:
Vigor uPVC pipes are resilient to impact, minimizing the risk of damage during handling, transportation, and installation, resulting in reduced maintenance costs over time.
Non-Conductive:
They are non-conductive and do not conduct electricity, making them safe for use in electrical installations and applications where electrical insulation is required.
Longevity:
Vigor CPVC pipes do not support combustion and are self-extinguishing, a fact that has been proven over a considerable amount of time. They are, therefore. ideally suited for use in buildings and other constructions.
Longevity:
Vigor uPVC pipes offer a long service life, often exceeding 50 years, thanks to their resistance to environmental degradation, such as rust and chemical corrosion.
Note: Vigor CPVC pipes means unplasticised polyinylchloride pipe, also frequently referred to as rigid PVC pipe. The word rigid does not explain its structure, but denes a property, which is self explanatory.
Installation Guide
Easy and 100% leakproof installation.
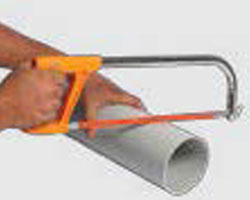
Step 1: Cutting
Measure the pipe length accurately and make a visible marking using a felt tip pen. Ensure that the pipe and fittings are size compatible. You can easily cut with a plywood cutting saw/ ratchet cutter or a wheel cutter. Cutting the pipe as squarely as possible (at 90°) provides optimal bonding area within a joint. Inspect pipe ends thoroughly prior to making a joint. If a crack or splintering is noticed cut-off a minimum of 25 mm beyond the visible crack before proceeding.
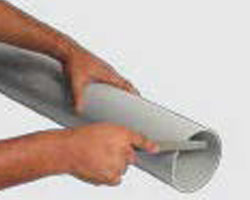
Step 2: Deburring/Beveling
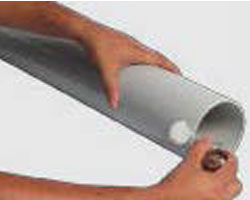
Burrs in and on pipe end can obstruct flow/proper contact between the pipe and socket of the fitting during assembly and should be removed from both in and outside of the pipe. A 15 mm dia half round file/a pen knife or a deburring tool are suitable for this purpose. A slight bevel on the end of the pipe will ease entry of the pipe into the socket of the fitting socket.
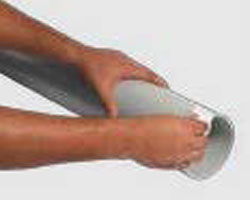
Step 4: Fitting Preparation
Using a clean dry rag, wipe the dirt and moisture from the fitting sockets and pipe end. Dry fit the pipe to ensure total entry into the bottom of the fittings socket and make a visible marking using a felt tip pen.
Step 5: One Step Solvent Cement Procedure
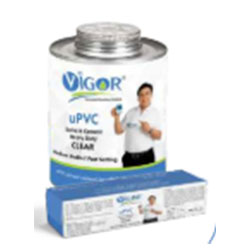
Use only Ashirvad FLOWGUARD PLUS™ CPVC Solvent cement conforming to ASTM F-493 to ensure a perfect solvent weld Joint. When making a joint, apply an even coat of solvent cement at the end of the pipe and also inside the fitting socket. Do not use thickened or lumpy solvent cement. It should have a flow consistency like that of syrup or paint.
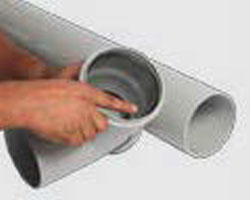
Step 5: Assembly
Immediately insert the pipe into the fitting socket, rotate the pipe 1/4 to 1/2 turn while inserting. This motion ensures an even distribution of solvent cement within the joint. Properly align the fittings as per patented alignment system shown with picture diagram on the right side. Hold the assembly for 30 seconds to allow the joint to setup and avoid push-out.
